DLSS in Blender: What It Is & How to Enable It
2026-11-12
DLSS — the NVIDIA tech that quietly doubled frame rates in half the games you've played — has arrived in Blender, and it changes the one place you spend most of your time: the viewport. As of Blender 5.3, Cycles can use NVIDIA DLSS Ray Reconstruction to turn a grainy, barely-sampled preview into a clean, near-final image almost instantly as you work. Here's what it actually is, why it's a big deal for look-dev, and exactly how to switch it on.
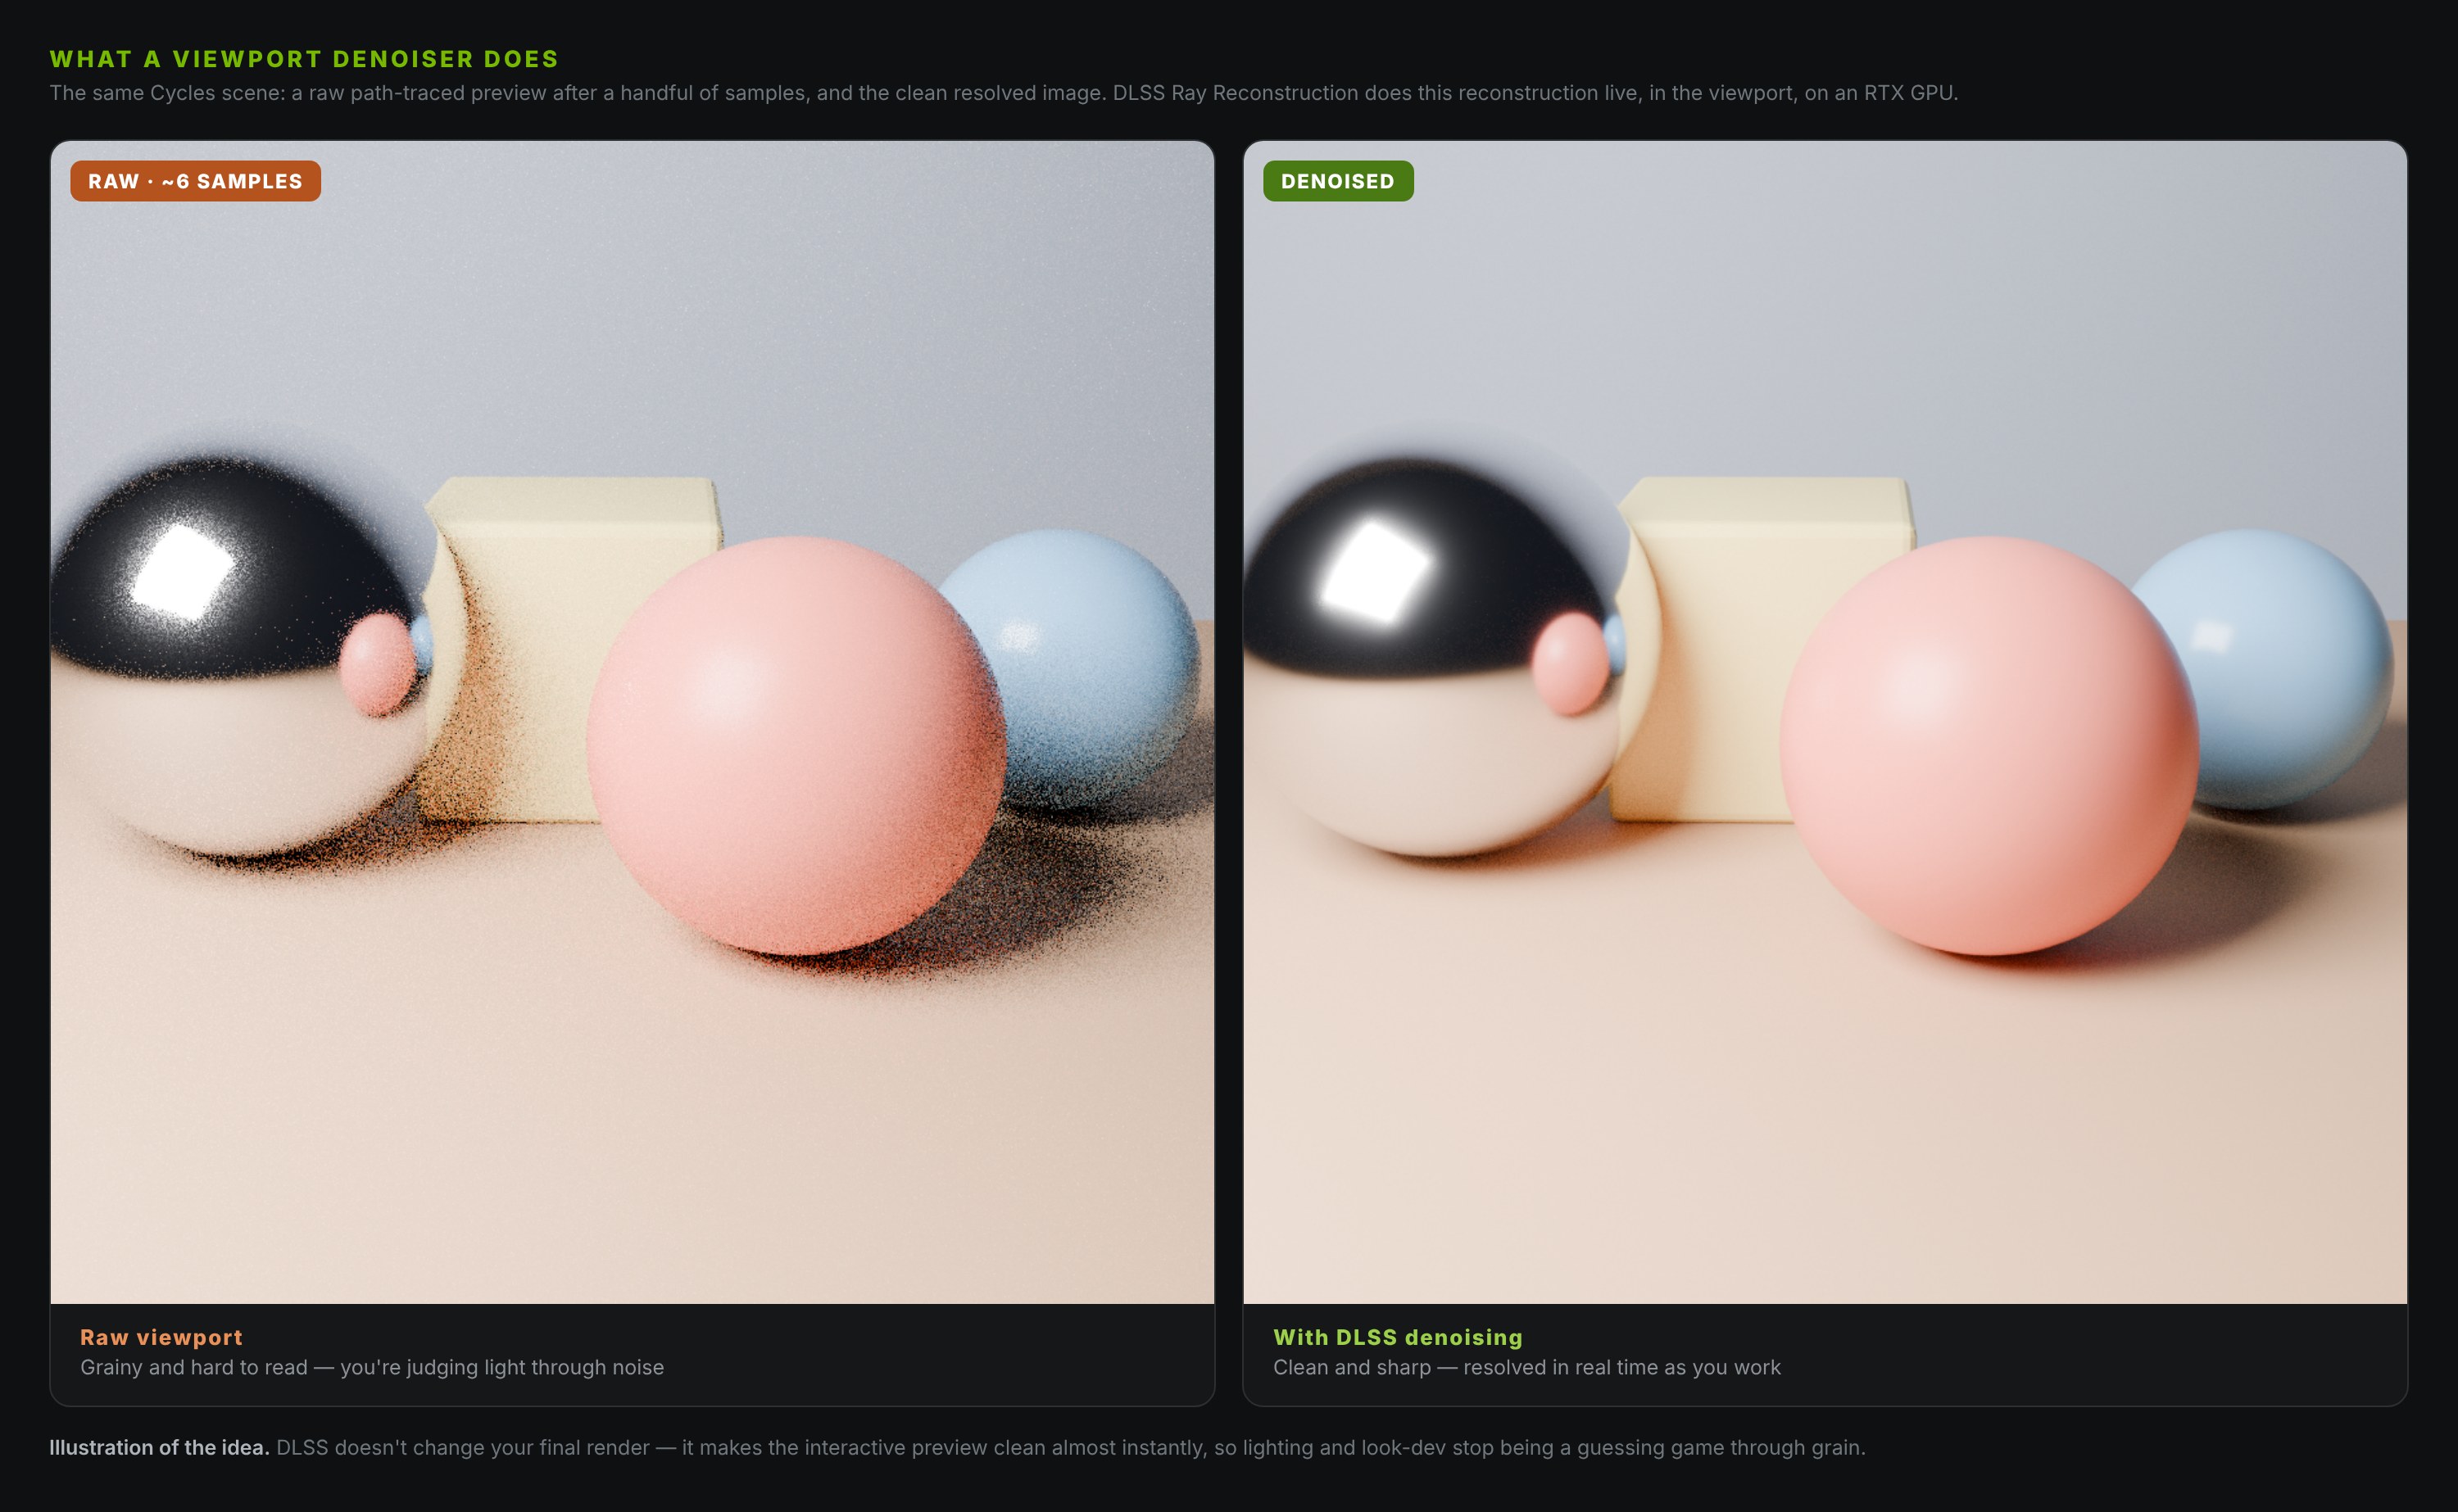
That's the whole idea in one picture: the left is what a path tracer gives you after only a handful of samples — speckled with noise. The right is the resolved image. DLSS does that reconstruction live, in the viewport, from very few samples — so instead of waiting for the preview to clean up, it's already clean while you move the camera.
Quick answer: DLSS in Blender (5.3+) is a viewport denoiser — NVIDIA DLSS Ray Reconstruction. On an RTX GPU, set Render Properties ▸ Sampling ▸ Viewport ▸ Denoise to DLSS for a clean, real-time preview. It's viewport-only (not final renders), NVIDIA-only, and off by default.
🧠 What DLSS in Blender Actually Is
First, clear up the confusion. DLSS in games does a few different jobs — upscaling, frame generation, denoising. The version that came to Blender is specifically DLSS Ray Reconstruction, and in Blender it is one thing: a viewport denoiser.
A path tracer like Cycles builds an image by firing rays and averaging samples. Few samples = fast but noisy; many samples = clean but slow. A denoiser cheats the trade-off: it takes the noisy low-sample image and reconstructs what the clean version should look like. Blender already had two (OptiX and OpenImageDenoise). DLSS Ray Reconstruction is a newer, AI-trained denoiser — built on top of the existing OptiX path — that is especially good at reconstructing fine detail, reflections and lighting from very few samples.
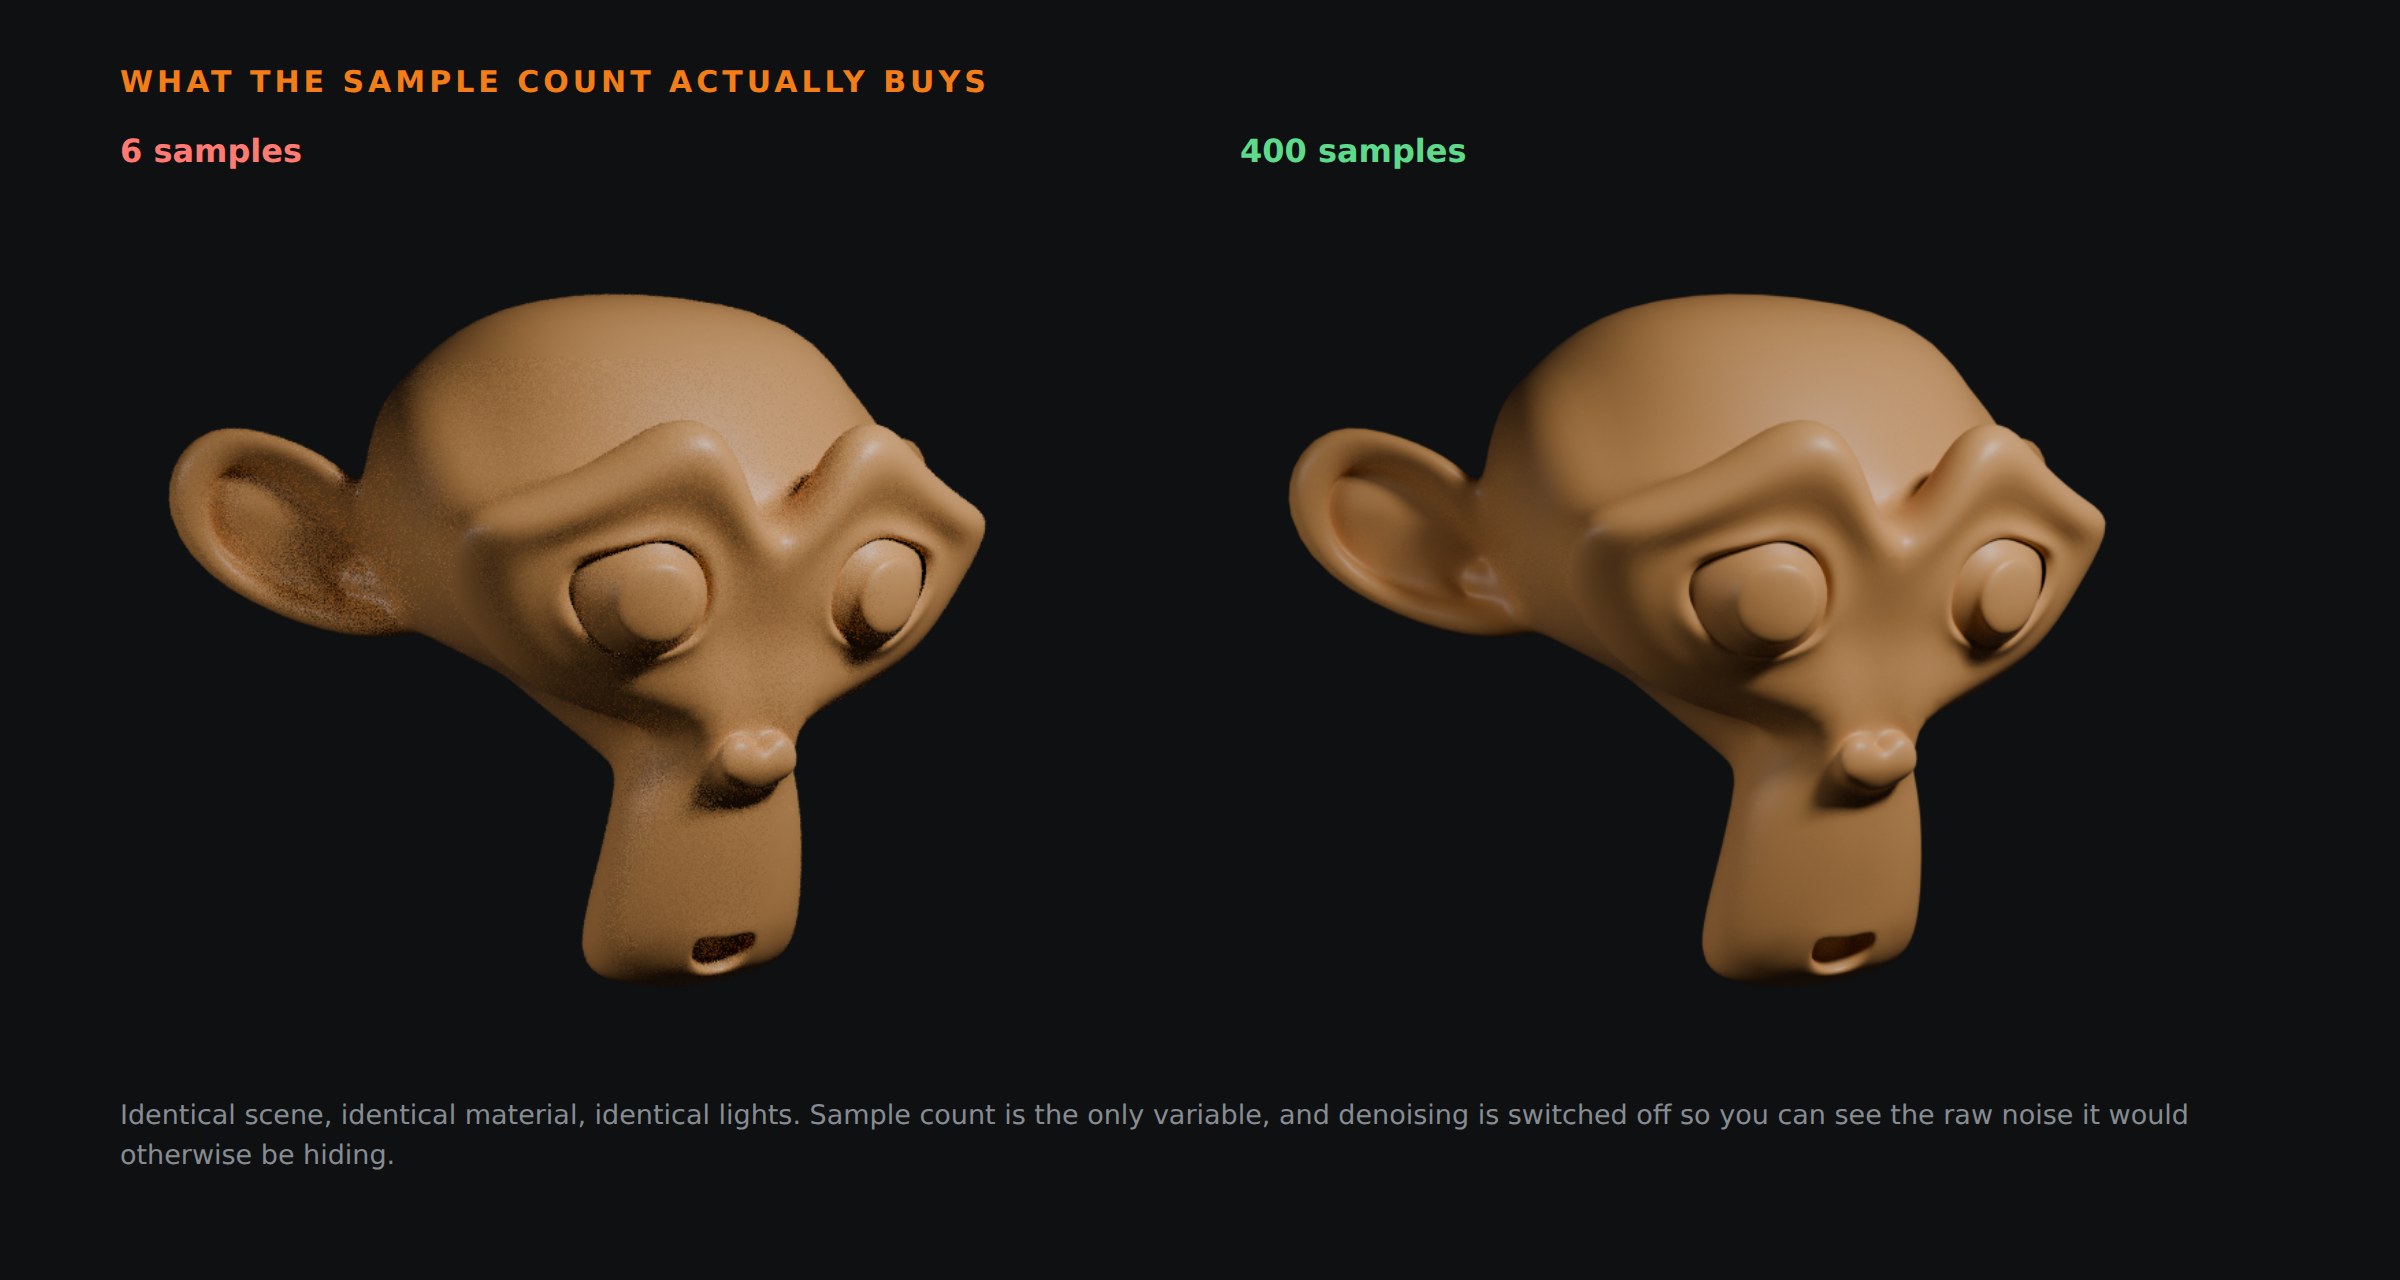
Few samples (left) are fast but noisy; many samples (right) are clean but slow. A denoiser reconstructs the clean result from a noisy low-sample image — and DLSS does it live, in the viewport, from very few samples.
It is not frame generation, it is not upscaling your final render, and it does not magically make your final export faster. It makes the interactive preview beautiful, immediately.
🎨 Why It Matters For Your Workflow
Here's the thing beginners underestimate: you spend far more time looking at the viewport — lighting, posing the camera, tuning materials, judging a shot — than you do waiting on final renders. And a noisy viewport makes all of those decisions harder, because you're squinting through grain trying to judge a highlight or a soft shadow.
DLSS Ray Reconstruction gives you a clean, responsive, near-final preview in real time on an RTX card. That means:
- Lighting and look-dev feel instant — you see the real result as you drag a light, not a snowstorm that slowly settles.
- Better decisions, faster. Subtle things (reflection sharpness, soft-shadow falloff, material roughness) are readable immediately.
- Less waiting, more iterating. The tight feedback loop is where good-looking work actually comes from.
It's the same job as the fixes for a noisy render, but applied continuously and interactively instead of after the fact.
Setting up Cycles, your GPU, or a denoiser and it won't behave? That's the kind of thing a quick 1-on-1 untangles in minutes instead of an afternoon of forum threads — bring your scene and we'll sort it live. Book a free call →
✅ What You Need
DLSS in Blender has firm requirements — check these before you go looking for the setting:
- Blender 5.3 or newer. This is where it landed. Earlier versions needed patches or didn't have it at all.
- An NVIDIA RTX GPU. Any RTX generation works (RTX 20-series and up). This is NVIDIA-only — there is no DLSS for AMD, Intel, or Apple Silicon / Mac.
- A current NVIDIA driver. Keep your Studio or Game Ready driver up to date; DLSS Ray Reconstruction needs a recent one.
If you're on a Mac, an AMD card, or CPU-only, DLSS isn't an option — but OpenImageDenoise still gives you a solid viewport denoiser (just not the same real-time slickness).
🛠️ How To Enable DLSS in Blender
Once you're on 5.3+ with an RTX GPU, it's three steps — and note it is not on by default:
- Point Cycles at your GPU. Go to Edit ▸ Preferences ▸ System ▸ Cycles Render Devices, choose OptiX, and tick your NVIDIA GPU. (DLSS rides on the OptiX backend, so this has to be set.)
- Switch a viewport to Rendered shading (the fourth sphere icon, top-right of the viewport) with the render engine set to Cycles.
- Set the viewport denoiser to DLSS. In Render Properties ▸ Sampling ▸ Viewport ▸ Denoise, change the denoiser from OptiX / OpenImageDenoise to DLSS.
That's it. Move the camera or drag a light and the preview resolves clean almost immediately. (Menu wording can shift slightly between point releases, but it lives under the viewport sampling/denoise settings.)
⚖️ DLSS vs OptiX Denoise
People ask which to use, so here's the split at a glance — the two NVIDIA AI denoisers plus the cross-platform option:
| Denoiser | Viewport | Final render | Works on | Best for |
|---|---|---|---|---|
| DLSS Ray Reconstruction | Yes | Not yet | NVIDIA RTX only | Sharpest real-time look-dev at very low samples |
| OptiX | Yes | Yes | NVIDIA RTX | Reliable all-rounder — viewport and final |
| OpenImageDenoise | Yes | Yes | Any GPU/CPU (AMD, Intel, Mac) | Cross-platform fallback when DLSS/OptiX aren't an option |
So the practical answer: use DLSS for interactive look-dev — the fast, beautiful preview — and use OptiX or OpenImageDenoise for the final render, since DLSS doesn't do final-frame denoising yet.
⚠️ Common Gotchas
- No DLSS option in the menu? You're almost certainly not on Blender 5.3+, not on an RTX GPU, or your driver is old. All three have to be true.
- It didn't speed up my final render. It won't — it's a viewport feature. Your export still uses OptiX or OpenImageDenoise.
- It's greyed out or missing on a laptop. Make sure Blender is actually using the NVIDIA GPU (not the integrated graphics) in both Blender's preferences and your system/NVIDIA control panel.
❓ FAQ
Does DLSS speed up final renders in Blender? No — it's a viewport-only denoiser for now. Your final export still uses OptiX or OpenImageDenoise.
Can I use DLSS on AMD, Intel or a Mac? No, DLSS is NVIDIA RTX only. Use OpenImageDenoise instead — it runs anywhere and still gives a clean viewport preview.
Why is DLSS missing from my denoise menu? You need all three at once: Blender 5.3+, an RTX GPU, and a current NVIDIA driver with Cycles set to OptiX. Miss any one and the option won't appear.
DLSS or OptiX — which should I pick? DLSS for the interactive viewport (cleaner at low samples); OptiX or OpenImageDenoise for the final render.
🎯 The Takeaway
DLSS Ray Reconstruction won't change your final pixels — but it changes how it feels to make them. A clean, real-time viewport turns lighting and look-dev from a guessing game through grain into something you can actually see and tune as you go. If you're on an RTX card and Blender 5.3, it's a free, one-setting upgrade to the part of Blender you touch most. Turn it on.
And if you're not on NVIDIA? You're not missing the whole game — good lighting, clean topology and smart sampling matter far more than any denoiser. DLSS just makes the ride smoother.
Read next: Why Your Blender Render Is Noisy — and How to Fix It — denoisers are half the story; this is the other half, for when your final render still comes out grainy.
Setting up Blender and not sure your hardware or settings are pulling their weight? Book a free intro call → and share your screen — we'll get your viewport fast and your renders clean, whatever GPU you're on.
Newsletter
Get more tips like this
Short, practical Blender guides for beginners — straight to your inbox. No spam. Unsubscribe any time.