How to Make Water in Blender
2026-11-11
Water looks like one of the hardest things to make in 3D, and in most software it is. In Blender it is surprisingly close to free: the program hands you the waves through one modifier and the look through a handful of shader settings. The trick is knowing that water is two separate problems — a surface that moves and a material that transmits and reflects — and solving them one at a time. Here is realistic ocean, plus the quick versions for a calm pool and stylised water.
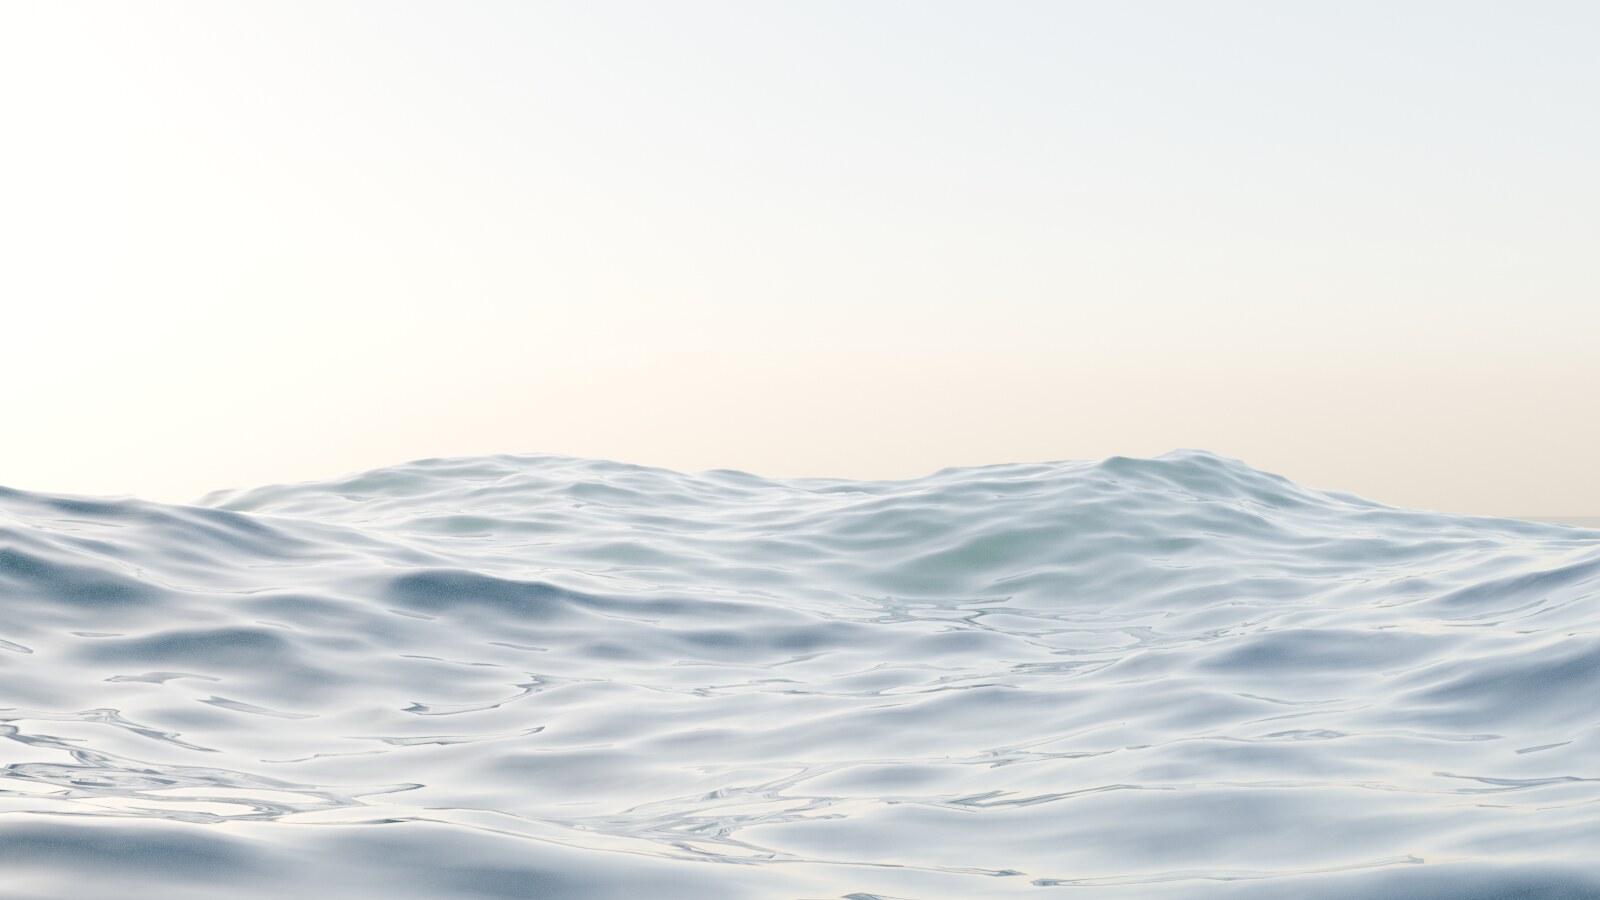
That ocean is a flat plane with one modifier and a four-setting material. No sculpting the waves, no painted textures. Let's build it.
🌊 Water Is Two Problems
Keep these separate in your head and water stops being mysterious:
- The shape — the moving, rippling surface. This is geometry, and Blender generates it for you.
- The shader — how light passes through and bounces off. This is a material, and it is mostly transmission plus reflection.
Get one without the other and it fails in an obvious way: a perfect shader on a flat plane looks like glass, and perfect waves with a plastic material look like crumpled foil. You need both.
🌀 The Waves: The Ocean Modifier
For any large body of water, Blender has a purpose-built tool. Add a plane, then add an Ocean modifier (it generates its own rippling surface — you don't even need to subdivide the plane). The settings that matter:
- Resolution — detail of the waves. Low while you work, high for the final render.
- Spatial Size — how big an area the waves cover; larger reads as a calmer, bigger sea.
- Wave Scale and Choppiness — the height and the sharpness of the crests. Choppiness is what turns gentle swells into pointed, realistic waves.
- Foam — turn it on for white caps on the crests; it adds a lot of realism for one checkbox.
Best of all, the Ocean modifier is time-driven — scrub the timeline and the water moves on its own, no keyframes required. You get animated water for free.
💧 The Shader: Transmission and a Little Colour
Real water is clear, so the material is simple. On a Principled BSDF:
- Transmission to 1.0 — light passes through the surface.
- Roughness very low, around 0.0–0.05 — water is smooth and sharp, not frosted.
- IOR to 1.33 — water's real index of refraction, and the number beginners most often leave at the glass default of 1.45.
- Base Color a deep blue-green for the water's tint.
That is the whole material. Depth colour — the darker blue in the troughs — comes from having something below: drop a dark plane under the surface as a seabed, and the transmissive water picks up its colour with distance.
🪞 It Needs Something to Reflect
This is the single biggest thing beginners miss, so it gets its own section. Water is mostly a mirror. At a grazing angle it reflects almost everything (that is the Fresnel effect), so if there is nothing in your scene for it to reflect, it renders as a dull grey jelly no matter how good the shader is.
Give it a sky. Add a Sky Texture (the Nishita model gives you a real sky with a sun you can position) or an HDRI to the world. Instantly the water has a sky to bounce, a sun to glint off the crests, and it reads as water. If your ocean looks lifeless, this is almost always why — it is a lighting problem, not a shader one, the same lesson as a flat-looking render.
🫧 Calm Water, Pools and Puddles
Not everything is a stormy sea. For still water you do not need the Ocean modifier at all:
- A pool or lake: a flat plane with the same transmissive shader, plus a subtle Noise Texture into the Bump input for gentle surface ripples. Low, slow, and clear.
- Puddles: mix the water shader onto a wet surface with a mask, so only the low spots read as water sitting on the ground.
Same shader every time — only the surface movement changes.
🎨 Stylised Water
If you want the clean, graphic look instead of realism, drop transmission entirely: use a flat blue, add a lighter rim driven by a Fresnel node for the edge glow where water meets objects, and scroll a noise texture for movement. It costs far less to render than transmissive water and suits stylised and low-poly scenes perfectly.
⚠️ The Common Mistakes
Almost all bad Blender water is one of these:
- Nothing to reflect — grey, dead water. Add a sky or HDRI. This is the big one.
- Roughness too high — frosted, milky water. Keep it near zero for clear water.
- Wrong IOR — left at 1.45; water is 1.33, and the difference is visible.
- No depth — flat, uniform colour. Give the transmission a dark floor to pick up.
- Forgetting it renders noisy — transmission and caustics are grainy by nature, so dark water scenes need the noise fixes, not just more samples.
🎯 One Surface, Many Waters
The reason water feels hard is that people try to solve it in one lump. Split it — waves from the Ocean modifier, look from a transmissive shader, life from a sky to reflect — and each piece is small. Change the wave settings and the same material becomes a millpond or a storm; change the colour and it becomes a tropical shallow or a cold deep sea.
It is the same lesson as every good procedural material: striking results come from a few well-understood inputs, not from one impossibly complex setup. Water is just light, moving surface, and something to reflect — and Blender gives you all three.
Read next: Why Your Blender Render Is Noisy — and How to Fix It — transmissive water and caustics are exactly where grain shows up, and this is how to clear it.
Want to build an ocean (or a calm pool) live and actually understand the nodes? Book a free intro call → and share your screen. Materials and lighting click fast with someone walking you through the logic once — water is a great place to start.
Newsletter
Get more tips like this
Short, practical Blender guides for beginners — straight to your inbox. No spam. Unsubscribe any time.