Low Poly Modeling in Blender: Where to Start
2026-11-10
Low poly is the friendliest corner of 3D. The models are quick to make, they look charming on purpose, and — unlike a photoreal render that takes a week and still looks slightly off — you can finish a low-poly scene in an evening and be genuinely proud of it. It is the fastest way out of tutorial hell and, not coincidentally, the foundation of how real games are built. If you are early in Blender and want to actually finish something, start here.
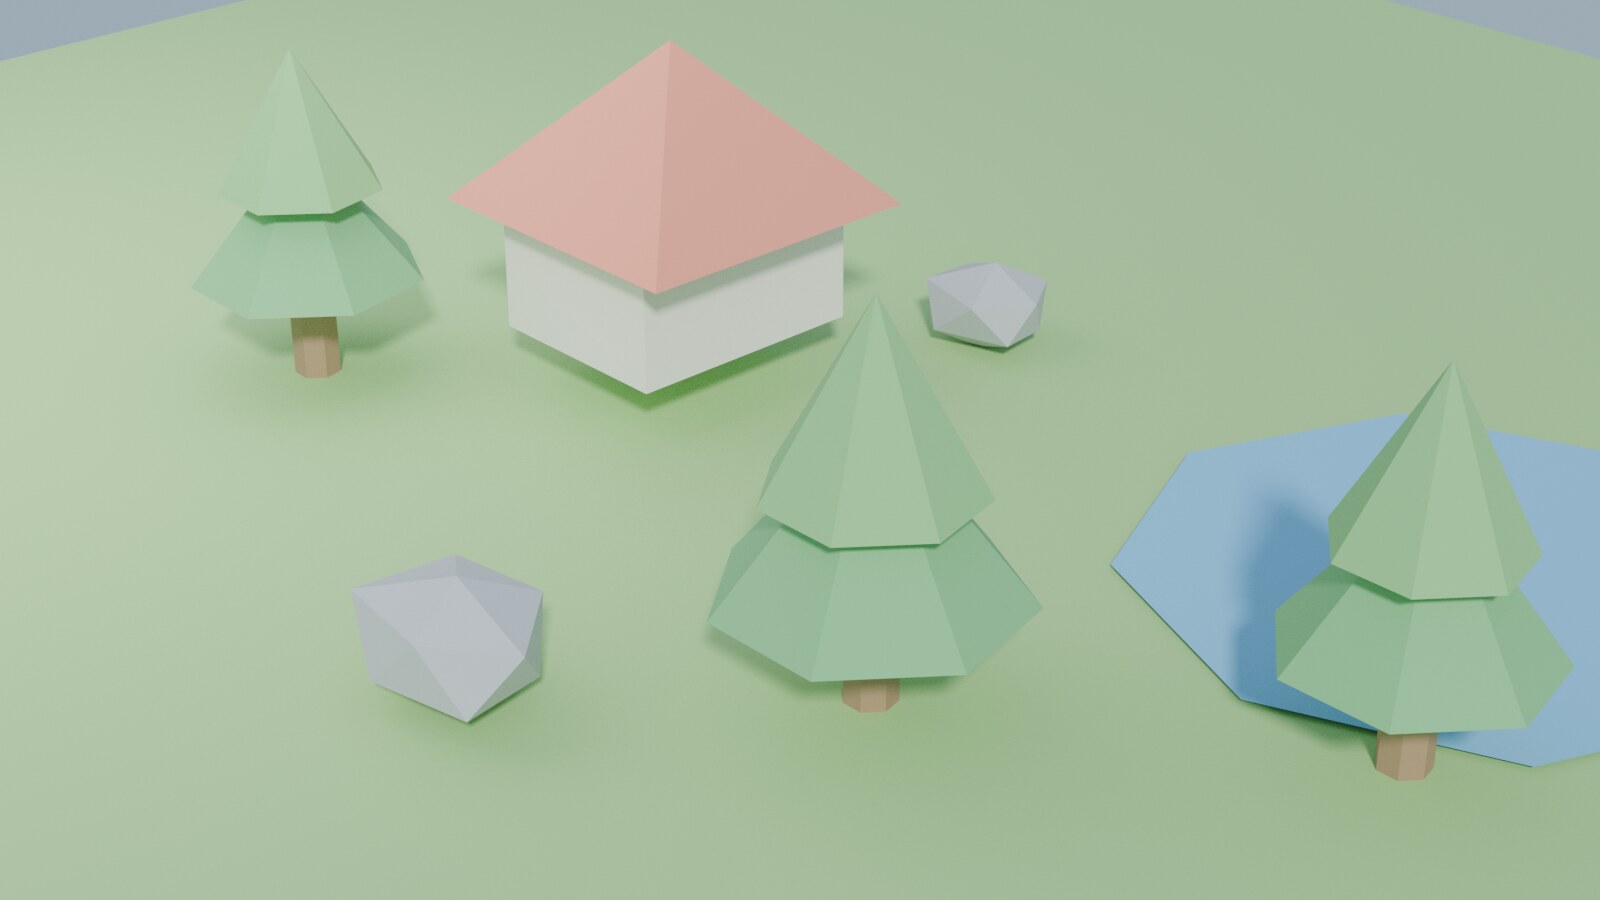
🎨 What "Low Poly" Actually Means
"Low poly" carries two meanings, and it helps to hold both.
The first is a style: deliberately simple, faceted shapes with flat shading and bold flat colours. It is a look, chosen on purpose, the way pixel art is a look. Nobody thinks a pixel-art game is low-effort, and good low poly is the same — simple is not the same as easy.
The second is technical: a low polygon count because the hardware has a budget. This is why games use it. Every model in a game is a compromise between detail and performance, and "low poly" is just the disciplined end of that trade-off.
The lovely thing is that these two overlap. Learn the style and you are also learning the discipline that games actually need.
🚀 Why It Is the Best Place to Start
A few reasons low poly beats grinding photoreal tutorials when you are new:
- You finish things. A low-poly tree takes minutes, a whole scene an evening. Finishing is a skill, and it is the one that gets you past the donut and into work that is yours.
- It teaches the fundamentals nakedly. With no textures or detail to hide behind, you learn silhouette, proportion and form directly. Those transfer to everything else you will ever model.
- It is forgiving. Fewer polygons means fewer things to get wrong. Mistakes are easy to see and easy to fix.
- It is genuinely shippable. This is not a toy exercise. Stylised games sell low-poly art every day. What you make can go straight into a game.
🧊 The Workflow
Low poly is mostly addition and restraint:
- Start with primitives. A cube is a crate, a house, a car body. A cylinder is a tree trunk or a barrel. An ico-sphere at low subdivisions is a rock or a bush. Most low-poly objects are a primitive with a few edits.
- Shape it with a small set of tools. Extrude (E), inset (I), and the loop cut (Ctrl R) do most of the work; a little bevel adds a chamfer where you want one. You barely need more than that — learning these core shortcuts makes the whole thing flow.
- Keep the poly count intentional. Every vertex should earn its place. If removing an edge does not change the silhouette, remove it.
- Combine simple objects into scenes. A low-poly world is usually lots of simple props arranged together, not one complex model. This is why it is fast.
🔑 Flat Shading Is the Whole Look
This is the one setting that makes or breaks low poly, so it gets its own section. By default Blender smooth-shades toward rounded surfaces. Low poly wants the opposite: Shade Flat, so every facet reads as a crisp, distinct plane. That faceted look is the style.
Right-click the object and choose Shade Flat (or Shade Auto Smooth if you want some edges smooth and others sharp). Get this wrong and your careful low-poly model looks like a melted blob; get it right and even a six-sided rock looks intentional. If you remember one thing from this article, remember to shade flat.
🖌️ Colouring Low Poly
Two easy routes, and you will likely use both:
- One material per colour. For a quick scene, just assign a handful of flat-coloured materials — red roof, green leaves, brown trunk. No texturing, no UVs, done.
- A palette texture. For anything game-bound, the standard trick is a tiny image of colour swatches that every object shares. Each face's UVs point at the swatch it should be, so a whole scene uses one small texture. That keeps things efficient and makes UV unwrapping almost trivial, because you are just dropping faces onto colours rather than unwrapping detail.
🎮 From Hobby to Game-Ready
Here is why low poly is more than a cosy starting point: it is the real thing. Stylised games ship low-poly assets as their final art, which means the skills carry straight across. Keep your meshes clean and your texel density consistent, export them correctly into a game engine, and you have shippable work. A tidy set of low-poly props is also one of the most approachable ways to start a game art portfolio — small, finished, and clearly competent beats one ambitious unfinished sculpt every time.
🎯 Start Small, Finish Often
The trap in learning 3D is spending months on tutorials and finishing nothing. Low poly breaks that trap because the loop is short: pick a simple object, block it from primitives, shade it flat, colour it, done — and you have a finished thing you made. Do that ten times and you will have learned more about form, topology and workflow than ten hours of watching ever teaches, plus a little scene you are proud of.
Simple on purpose is not a limitation. It is the fastest road to actually being good.
Read next: What to Do After the Blender Donut — more ways to escape tutorial hell and start building work that is genuinely yours.
Want a nudge in the right direction, or feedback on your first low-poly scene? Book a free intro call → and share your screen. I teach Blender one-to-one, and a beginner with a clear, finishable project moves faster than almost anything else.
Newsletter
Get more tips like this
Short, practical Blender guides for beginners — straight to your inbox. No spam. Unsubscribe any time.