Hard Surface Modeling in Blender: Where to Begin
2026-11-10
Hard surface modelling — weapons, robots, vehicles, props, anything rigid and man-made — looks like the hardest thing in Blender. All those crisp bevels and panel lines and bolts seem to demand an artist's eye you do not have yet. Here is the secret the intimidating renders hide: hard surface is a workflow, not a talent. It is a short, repeatable sequence of the same few tools, and once you know the sequence you can build almost anything rigid. This is that sequence.
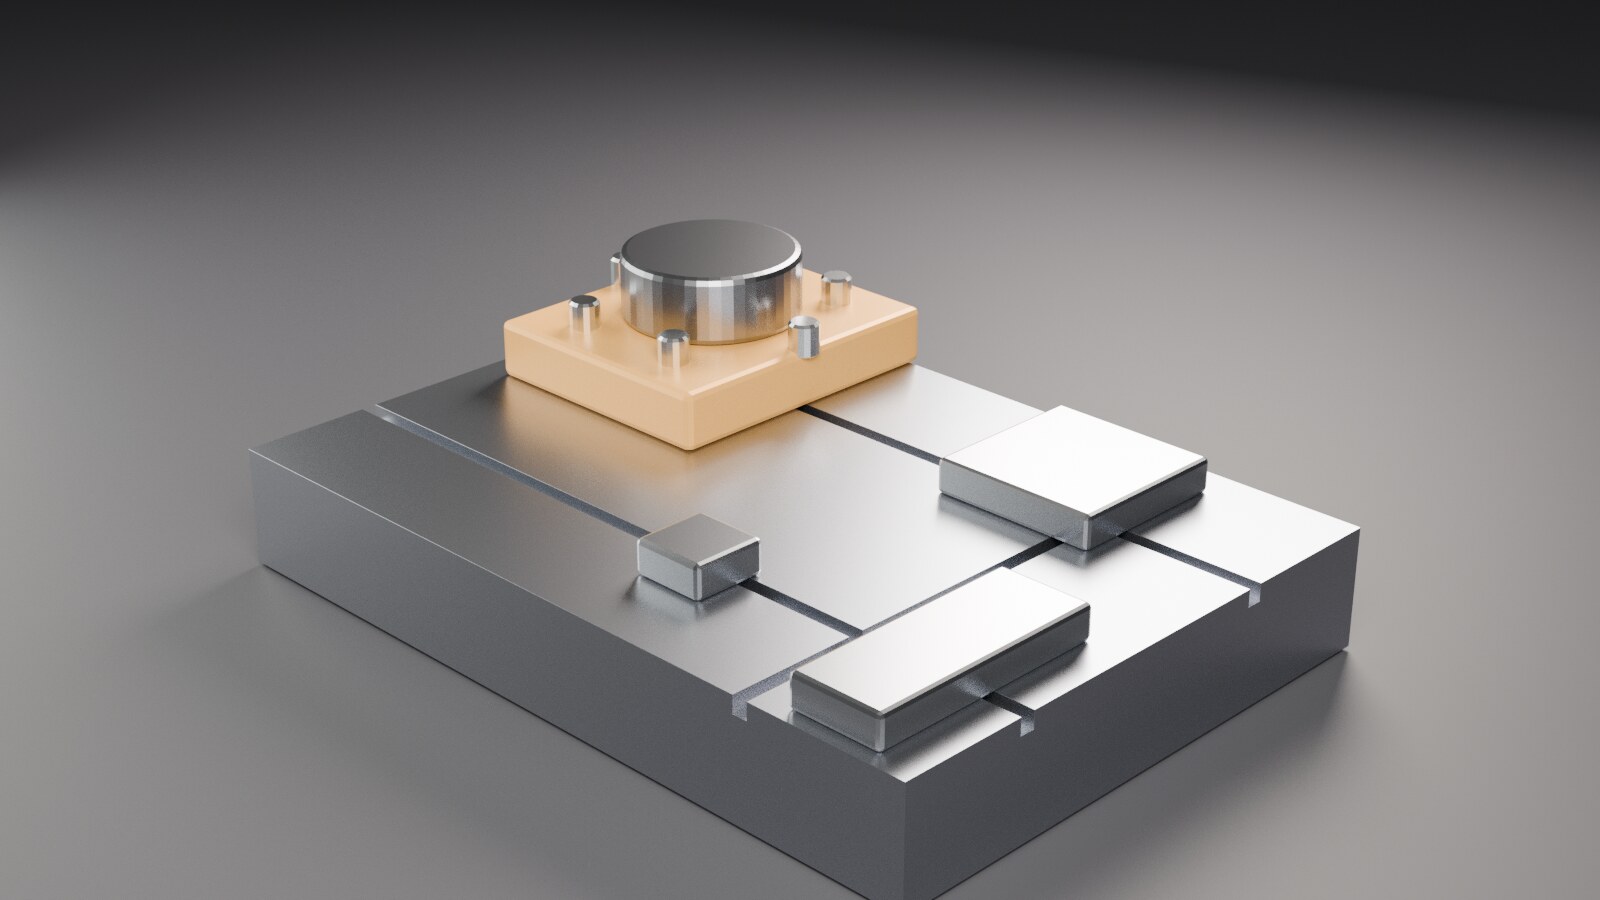
That panel above is nothing but boxes and cylinders, cut and bevelled in the order I am about to walk through. No sculpting, no magic — just the workflow applied one step at a time.
🔩 What "Hard Surface" Actually Means
Hard surface is the opposite of organic. Organic modelling (characters, creatures, rocks) is about flowing, continuous forms and is usually sculpted. Hard surface is about flat planes, crisp edges and deliberate mechanical shapes — things that look manufactured.
That difference drives everything. Where a sculptor pushes clay around, a hard-surface modeller thinks like an engineer: big simple forms first, then progressively smaller details bolted onto them, with clean edges catching the light. You are not drawing freehand. You are assembling.
🧱 The Workflow, In Four Stages
Almost every hard-surface model follows the same four beats. Work them in order and do not skip ahead.
1. Block out the silhouette. Start with primitive cubes and cylinders and get the overall shape and proportions right while everything is still simple. No details yet — just the big masses. If the silhouette does not read at this stage, no amount of greebling will save it later. This is the stage beginners rush and regret.
2. Establish the major forms. Split the blockout into its real sub-shapes — the housing, the barrel, the grip, the panel. Use the Mirror modifier heavily here: most hard-surface objects are symmetrical, so model one half and let Blender build the other. You have now gone from a rough mass to a recognisable object.
3. Add the detail. This is where it starts to look real: panel lines, recessed ports, raised plates, bolts, vents. Booleans cut and add these fast, and arrays repeat them. Detail is what sells "manufactured" — but it is also where beginners create the mess that bites them two stages later, so add it deliberately, not everywhere.
4. Control the edges. Real manufactured edges are never perfectly sharp — they have a tiny chamfer that catches light. Bevels (or support loops under a Subdivision Surface) give you that highlight on every hard edge. This single step is the biggest visual difference between a model that looks like a student exercise and one that looks professional.
🛠️ The Five Tools You Actually Need
Hard surface uses a small, fixed toolkit. Learn these five and you have ninety per cent of it.
- Mirror modifier — model one half, get the whole. The first thing to add on any symmetrical object. Full guide here.
- Bevel — rounds hard edges so they catch light, as a modifier (live, angle-limited) or by hand (Ctrl B). The tool that makes edges look real.
- Boolean — cuts holes and merges shapes instantly. Indispensable for panel lines and ports — but it leaves messy topology you have to respect, which is its own lesson: why booleans wreck your topology.
- Subdivision Surface — for smooth, rounded hard-surface forms, driven by support loops. If your model melts when you add it, that is expected and fixable: stop subsurf melting your edges.
- Array — repeats a detail evenly (bolts, vents, ridges) without copying by hand.
Mirror, Bevel, Boolean, Subdivision Surface, Array. That is the whole core. Everything fancier is a combination of these.
⚠️ The Mistakes That Make It Look Amateur
Four things separate a clean hard-surface model from a messy one, and all four are avoidable once you know to look for them.
Ignoring boolean topology. A boolean looks clean when shaded, but underneath it leaves n-gons and triangle fans that pinch the moment you subdivide or bake. Clean up after every boolean, or shade flat and know the limits — the booleans topology guide covers exactly how.
Triangles and n-gons where they matter. On a flat panel, a triangle is harmless. Near an edge you are trying to keep sharp under subsurf, it pinches the surface into a visible dent. Knowing where quads actually matter is most of the skill.
Black patches and smeared shading. Bevelled, booleaned hard-surface meshes are exactly where shading artifacts show up — usually fixed with weighted normals or auto-smooth, once you know the cause.
No edge variation. Every edge bevelled to the same width reads as fake. Vary it — tight on small details, wider on big forms — and the model instantly looks more believable.
🎮 Then What? Games vs Renders
Where your model goes next decides how you finish it.
For a still render, you are nearly done — clean it up, light it, and shade it. The high-poly, subdivided, fully-bevelled version is the deliverable.
For a game, that high-poly is far too heavy to ship. The pipeline is the same one the whole game-art world uses: build the detailed high-poly as above, then retopologise it to a light mesh and bake the detail onto it as a normal map. Your crisp bevels and panel lines become texture on a mesh of a few hundred faces. If a studio job is the goal, hard-surface props built and baked this way are exactly what a game art portfolio needs.
🎯 The Mindset That Makes It Click
Beginners think hard surface is about knowing secret tools. It is not — you just met the entire toolkit, and it is five modifiers. What it is actually about is order and restraint: big forms before small ones, silhouette before detail, and clean edges holding it all together. Follow the four stages, respect the topology your booleans leave, and vary your bevels, and your first serious hard-surface model will look far better than the hours you put in would suggest.
The intimidating part was never the modelling. It was not knowing the sequence. Now you do.
Read next: Blender Booleans Wreck Your Topology — the one hard-surface habit that quietly ruins models, and how to cut clean instead.
Want someone to look over your first hard-surface model before the bad habits set in? Book a free intro call → and share your screen. I teach Blender one-to-one, and hard-surface workflow — booleans, bevels, edge control — is the kind of thing one focused session makes permanent.
Newsletter
Get more tips like this
Short, practical Blender guides for beginners — straight to your inbox. No spam. Unsubscribe any time.